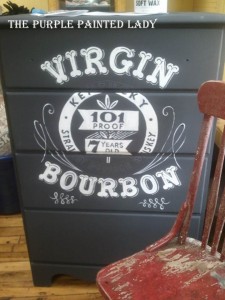
A little Bourbon anyone?
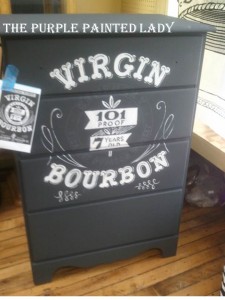
My current project that I am working on…… and I love it. I hope someone out there will too and hopefully purchase it!
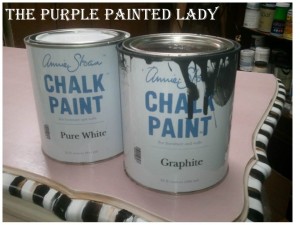
This dresser is painted in Graphite and Pure White Chalk Paint™ Decorative Paint by Annie Sloan.
I am very excited about it- and I had to share it. Once I was done with the detailing – I planned on making it look a bit worn by sanding the surface strategically with some 220 and 400 grit sandpaper.
Here is a helpful tip for when you paint a dresser front…once you have the lay out done, feel free to remove the drawer and set it to make the painting easier!
Also, don’t panic if when using Chalk Paint™ and prior to waxing you get a light scuff mark, like what I am pointing at in the photo below. When you apply Annie’s Clear Wax that all disappears. But note, I am not referring to scratches or gouges.

Always have a copy of the image you are painting near by to reference. In the photo below you can see how I like to tape mine using Painter’s Tape to the piece so I can easily reference it at all times. I learned this when I primarily only painted murals. I would tape 4 copies of what I was painting above, below and on both sides of the area I was painting on the wall. This does really help a lot!
For the knobs I am thinking will by a glossy black of some sort. (I think)
Now after painting the detailing on, my next step is to lightly sand the surface to even out the paint. There are pros & cons to sanding or distressing BEFORE applying your first coat of Clear Wax. I typically sand BEFORE and will explain why in this post later today below.
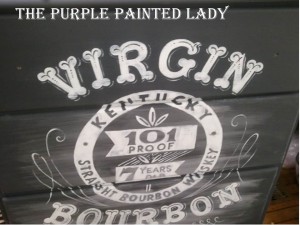
Something I wanted to share now though, is that when you sand prior to waxing over a dark Chalk Paint™ color like Graphite (as I have in my photo below)…you will get this residual white chalky look. Don’t panic!
What I do to remove this “chalky effect” is GENTLY blow and wipe with a DRY towel as much of it off. (don’t use a moist towel since that powder are tiny particles of chalk paint and the water will reactivate it into a “wash.”) Do not be concern with removing it so it is all gone! First, you will not be able to. Secondly, it is not necessary because as soon as I apply the clear wax…all of that disappears. The photo below shows what the front looks like after applying clear wax to the top drawer. Notice, that white chalky residue or scratch look goes away on it!
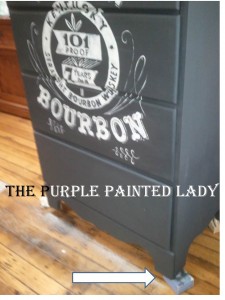
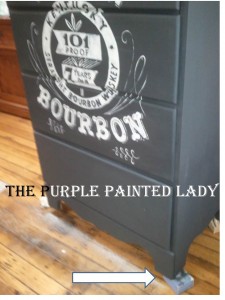
When painting or waxing – place your piece up on blocks so that it easy to get right to the bottom of the feet without dirtying your floor.
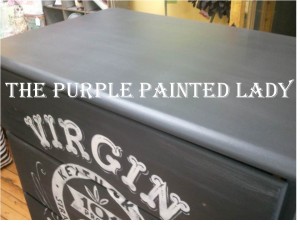
Once done applying the wax (and please reference my video here if you need wax application instructions.) But after I applied the wax and removed the residual wax per my instructions, I gently buffed out the surface. The photo below is after I am done with all of this.
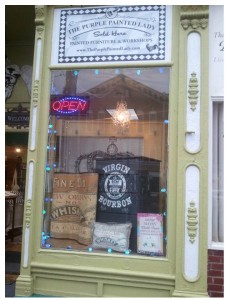
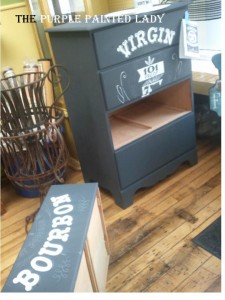
I ended up painting the inside of the drawers with Napoleonic Blue and waxed them. The only thing left is to add some black enamel knobs. I couldn’t wait to get it into the window though, so here it is….ready for sale! I hope you like it. It comes with my girlfriend Jeanne’s Bourbon Slushie recipe! Perfect for the holidays.
I will post a final photo when finish! (and don’t worry…I have something in the works that I will reveal soon to show you exactly how I do this!!!!!) Something that will be available to you via my on-line store.

