A little Bourbon anyone?

A little Bourbon anyone?

My current project that I am working on…… and I love it. I hope someone out there will too and hopefully purchase it!

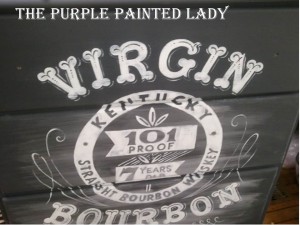
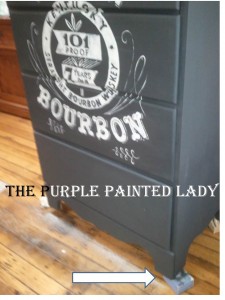
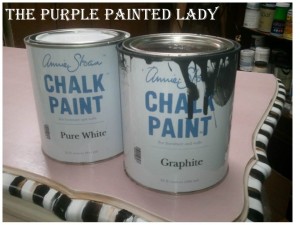
This dresser is painted in Graphite and Pure White Chalk Paint™ Decorative Paint by Annie Sloan.
I am very excited about it- and I had to share it. Once I was done with the detailing – I planned on making it look a bit worn by sanding the surface strategically with some 220 and 400 grit sandpaper.

Here is a helpful tip for when you paint a dresser front…once you have the lay out done, feel free to remove the drawer and set it to make the painting easier!
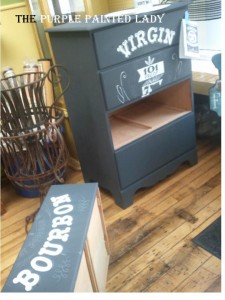
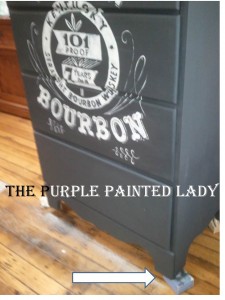
Also, don’t panic if when using Chalk Paint™ and prior to waxing you get a light scuff mark, like what I am pointing at in the photo below. When you apply Annie’s Clear Wax that all disappears. But note, I am not referring to scratches or gouges.

Always have a copy of the image you are painting near by to reference. In the photo below you can see how I like to tape mine using Painter’s Tape to the piece so I can easily reference it at all times. I learned this when I primarily only painted murals. I would tape 4 copies of what I was painting above, below and on both sides of the area I was painting on the wall. This does really help a lot!
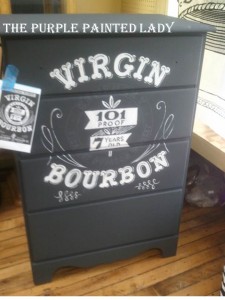

For the knobs I am thinking will by a glossy black of some sort. (I think)

Now after painting the detailing on, my next step is to lightly sand the surface to even out the paint. There are pros & cons to sanding or distressing BEFORE applying your first coat of Clear Wax. I typically sand BEFORE and will explain why in this post later today below.

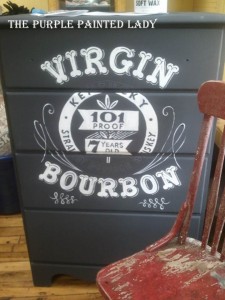
Something I wanted to share now though, is that when you sand prior to waxing over a dark Chalk Paint™ color like Graphite (as I have in my photo below)…you will get this residual white chalky look. Don’t panic!

What I do to remove this “chalky effect” is GENTLY blow and wipe with a DRY towel as much of it off. (don’t use a moist towel since that powder are tiny particles of chalk paint and the water will reactivate it into a “wash.”) Do not be concern with removing it so it is all gone! First, you will not be able to. Secondly, it is not necessary because as soon as I apply the clear wax…all of that disappears. The photo below shows what the front looks like after applying clear wax to the top drawer. Notice, that white chalky residue or scratch look goes away on it!

When painting or waxing – place your piece up on blocks so that it easy to get right to the bottom of the feet without dirtying your floor.

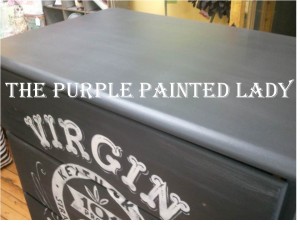
Once done applying the wax (and please reference my video here if you need wax application instructions.) But after I applied the wax and removed the residual wax per my instructions, I gently buffed out the surface. The photo below is after I am done with all of this.

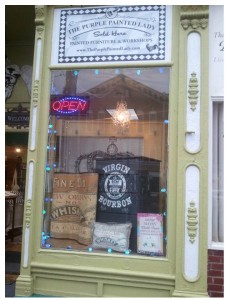
I ended up painting the inside of the drawers with Napoleonic Blue and waxed them. The only thing left is to add some black enamel knobs. I couldn’t wait to get it into the window though, so here it is….ready for sale! I hope you like it. It comes with my girlfriend Jeanne’s Bourbon Slushie recipe! Perfect for the holidays.

I will post a final photo when finish! (and don’t worry…I have something in the works that I will reveal soon to show you exactly how I do this!!!!!) Something that will be available to you via my on-line store.

Weekly Furniture Transformations ~ Our Whiskey Buffet

Starting now (September 8, 2012) – The Purple Painted Lady will be featuring a piece of furniture we are painting! Watch for our transformations! Paint that will be highlighted is both Chalk Paint™ Decorative Paint by Annie Sloan and Milk Paint by Miss Mustard Seed.

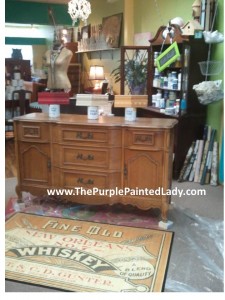
Here is this week’s featured piece- and the inspiration for our color choices and design comes from this fun bamboo mat (4’X6′) retailing for $66 at our shop. (and these mats already have a non-slip grid on the back- they are incredibly durable and won’t slide around your floor- I LOVE THEM!!!)

Chalk Paint™ Decorative Paint by Annie Sloan colors that will be used on the buffet are Old Ochre, Arles & Emperor’s Silk. Then the whole piece will receive one coat of Annie’s Soft Clear Wax, and finished with Dark Wax. We will update this post with progression photos and “How To” information.

Keep in mind- when you have a piece and have no clue what colors to paint it, first determine what room will it be going into. Draw inspiration from colors in that room and accessories or art that is in the space already. If you are starting from a fresh slate- go to Pier 1, HomeGoods and look for something that you love! Is it a coffee mug, a picture frame or a pillow? Buy it and use that as your springboard to develop the room around! This process is so much fun! Don’t force the progression and never settle for something that you only “like.” Find something that you LOVE! It could be due to the colors, the theme of the design or decor style. Stay true to yourself and not what is the latest fad in the decorating magazines. Your tastes are what they are and will probably be the same next year or at least similar- where design styles come & go.

Hope this new continuous post idea helps you and makes you happy!!!! It does for me!

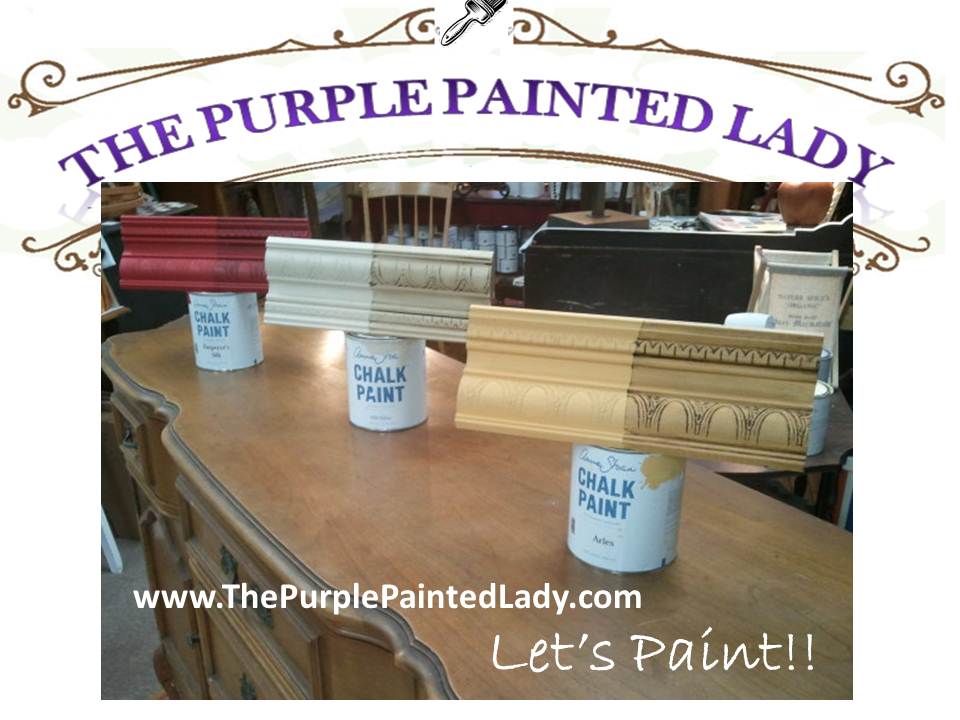
Chalk Paint™ Sample Boards showcasing both Clear & Dark Wax

I have been working on these photos longer than I would like to admit! And I am still not done. But I promise to have them all uploaded to Pinterest by the end of the weekend.

I hope that you enjoy these Chalk Paint™ Sample Boards showcasing both Clear & Dark Wax. They are a great way for you to see the possibilities of each color. And I have a lot of fun pairing up different colors to create new color combinations to paint future pieces in.

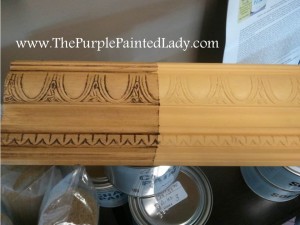
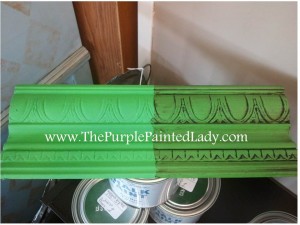
Each sample board was painted with two coats of Chalk Paint™. Then a layer of clear wax was applied to the whole sample board. Once dry- we taped off half and applied dark wax, and immediately wiped off the excess.

Click here to see Chalk Paint™ Sample Boards showcasing both Clear & Dark Wax or visit my on-line store to see each color.

Bow to the King- or should I say …Queen! $680 Tall Boy Dresser with Wings!

*** $680 Royal Tall Boy with Wings!

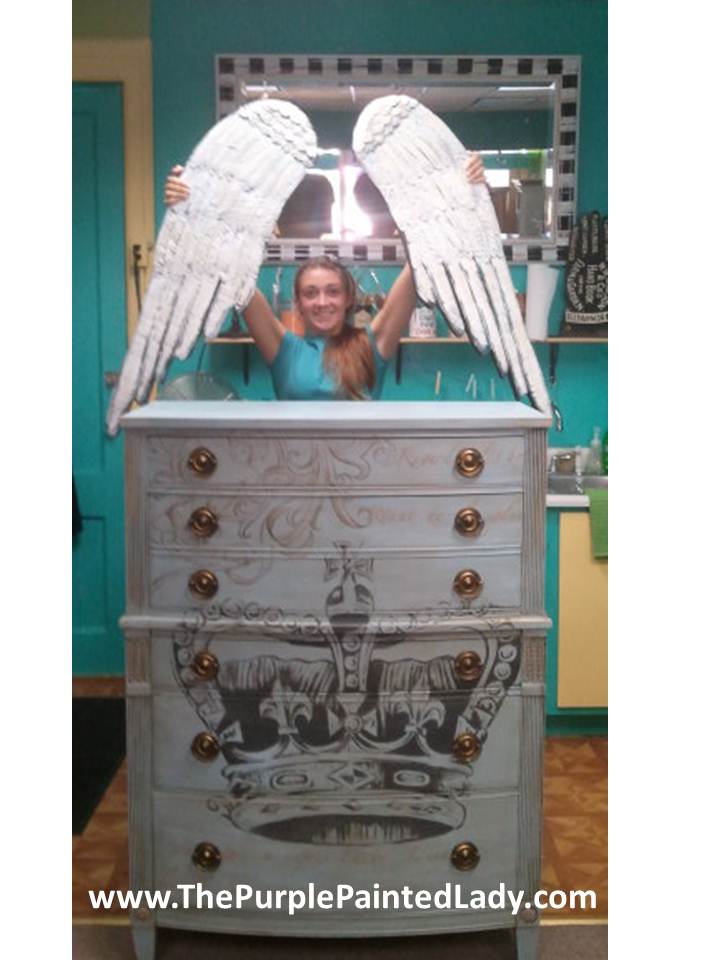
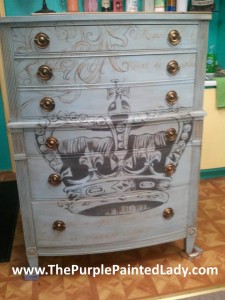
If you love whimsy- you will love this tall boy. Find him at The Shops On West Ridge starting Thursday, August 9th. Hand painted in Louis Blue, Graphite & Coco Chalk Paint™ Decorative Paint by Annie Sloan and embellished a bit with some pale metallic gold…clear & dark wax. Embellished with an innocent Cherub who is waiting patiently for his wings while sitting on a soft set of heavenly scrolls in the upper left corner. Add some beautiful delicate French script about springtime in Paris. And of course- the symbol that represents the head of state & monarchy – a Regal Crown.. So can I dare say….Bow to the King- or should I say …Queen!?

Tall Boy Dimensions are 53.5″ Tall X 38 ” Wide X 18 ” Deep. Solid wood, 5 dove tailed drawers and priced at $680
Wings are made of barn wood with a tin overlay! 40″ Wide X 12″ Tall

This ensemble is dedicated in honor to my kitty Biscuit! he earned his angel wings on 8/7/2012. He was a warrior and so brave…now he is a king! Always & forever Biscuit!!!

Ain’t She Pretty?!

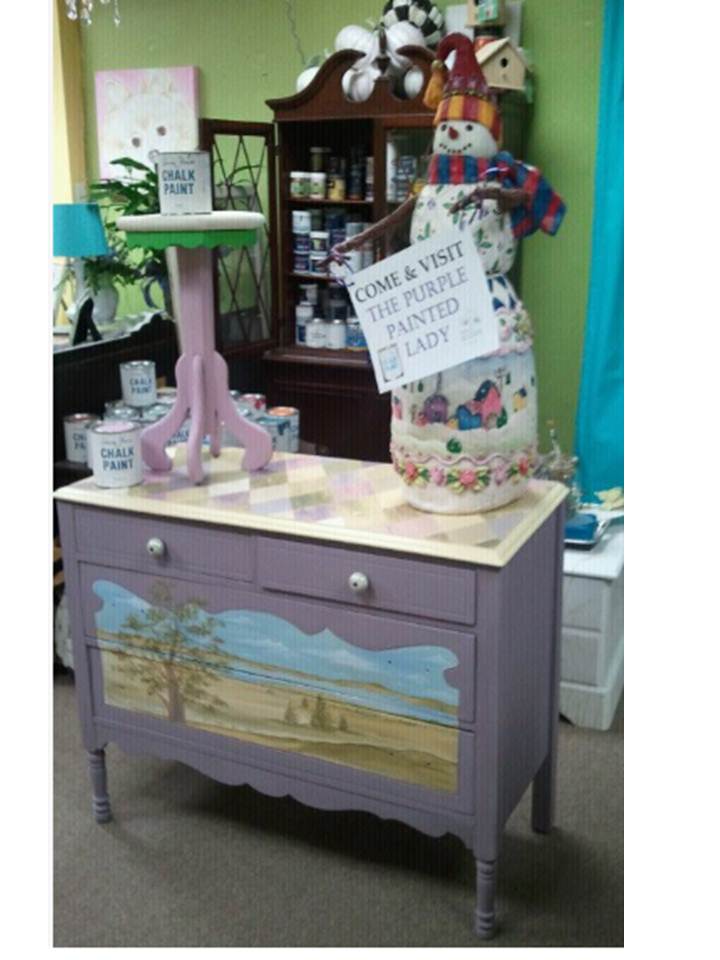
I started painting this sweet little dresser last week and FINALLY finished it today. Not because it took so long to do, but rather I just kept getting side tracked, but not today! Soft and muted pastel harlequin on top, a NY Finger Lake inspired landscape…and the perfect shade of purple by Annie Sloan Chalk Paint called Emile. In fact…this whole dresser was painted with Annie Sloan Chalk Paint..yep- all of it! If you love her but are thinking, “nothing else in the room will match her.” No problem! Bring me in another piece and I can paint it in a matching design! Totally easy-peasy! So, come and visit her (meaning this sweet dresser) at my shop – 208 East Main Street in Palmyra! Keep in mind- pending where you live- if you travel to Eastview Mall- MY SHOP IS LOCATED ACTUALLY CLOSER TO YOUR HOME.