Can you please help me? Seriously….I am asking for a huge favor. I am in the running for a grant from Federal Express which will really help with the building of a new bigger location that will offer weekend workshop retreats and have space for lots of inspiration and promote local artists. This is a dream and I am hoping you can help it come true. First it starts out with having people vote for my business. CLICK HERE to vote for me.
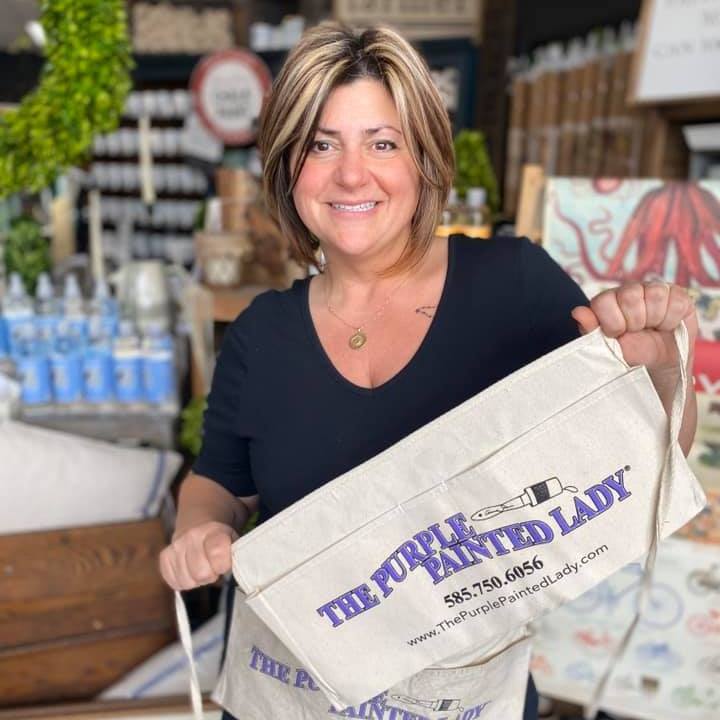
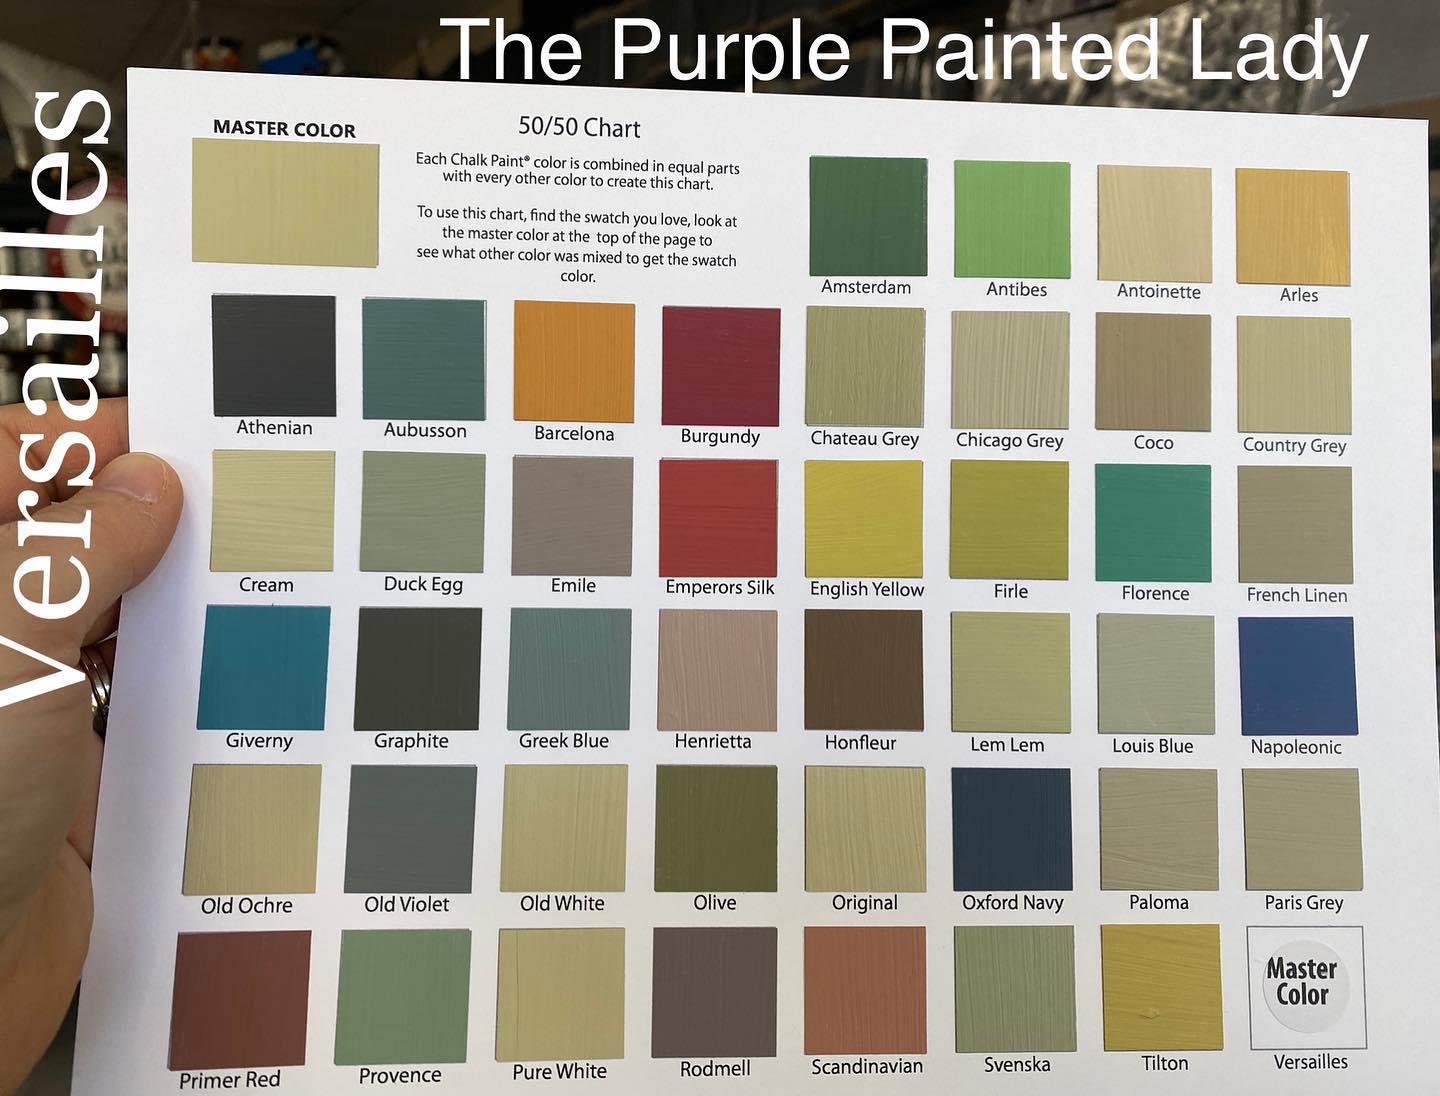
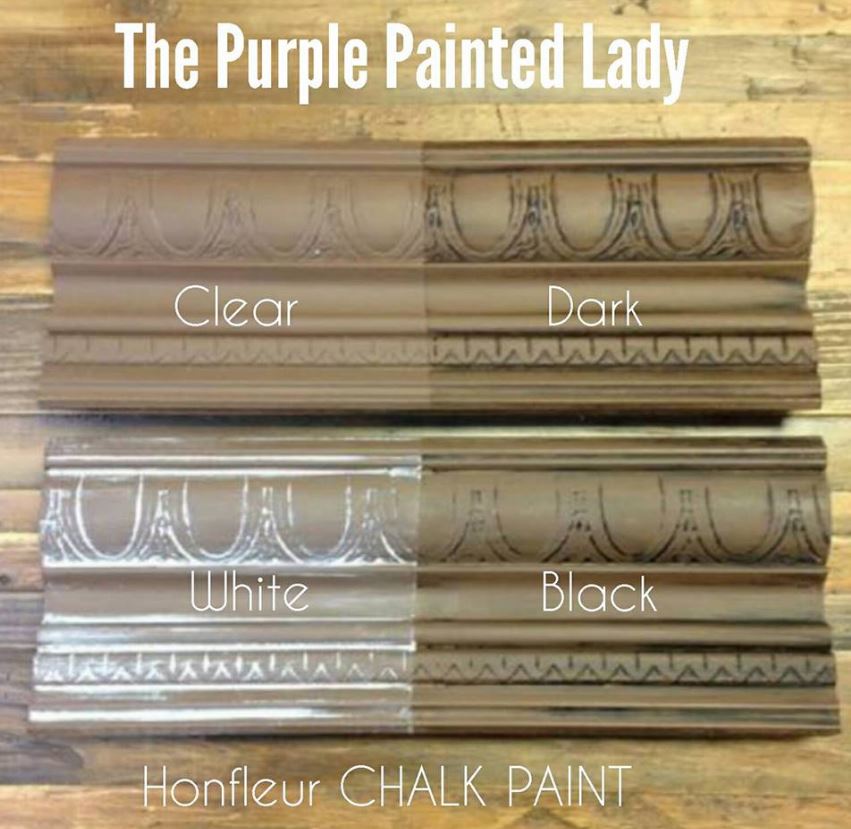
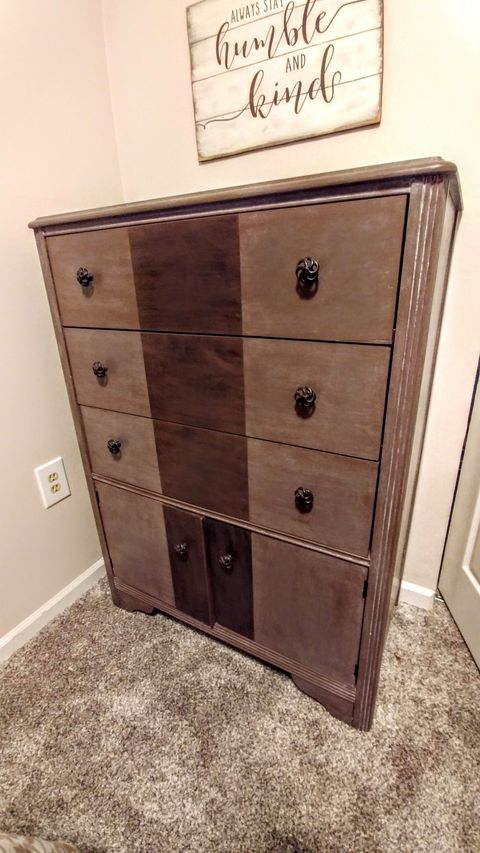
Our whole business has been but around helping people. Sure, we sell paint – but it goes much further than that. I wanted to inspire people and give them a way to escape their lives with painting. I help our customers with HOW TO information on painting their cabinets and furniture but when we help people transform pieces of furniture- believe it or not, we also help many of our customers transform themselves. Either getting their self confidence into alignment by completing a project and having it turn out in a way that surpasses that your expectations or just creating an overall rewarding experience. We go beyond surface level guidance! My entire focus from day 1 – was to be the best at customer service. Sure, many businesses talk about providing customer service, but we live it. Our business phone is our personal cell number so all of our customers can reach us at any point of time for assistance and support for the products they purchase from us or that encouraging word that they need. I have always wanted to be approachable and share our energy and our creative life style with our customers….who are our Purple Painted Lady family. We don’t worry about other businesses who do things similar to us…we keep our eyes in our own lane and focus on what we can do better, on how we can show up in a bigger way and intrigue our customers. We don’t just have customers….we build relationships and inspire and they become part of The Purple Painted Lady Family.
We also have a stake in the local artisan community. We have hosted an event for the last eleven years that brings together over 350 artists annually in September. If we were to upgrade to a larger space- we could collaborate all year long and host more events through the year. Through our annual September event, we have been able to contribute financially back to the local community significantly. We want to grow this more.
So, here it is. Super simple- just click on the highlighted link and please, vote daily till March 24th. I know this is a lot to ask….. …but, if you have it in your heart- could you please help me? CLICK HERE to vote for me
This would allow us to do some pretty amazing things for you! My fingers are crossed… my toes are crossed… heck, even my eyes are crossed.
Thank you…thank you…thank you!
XO~ Trish