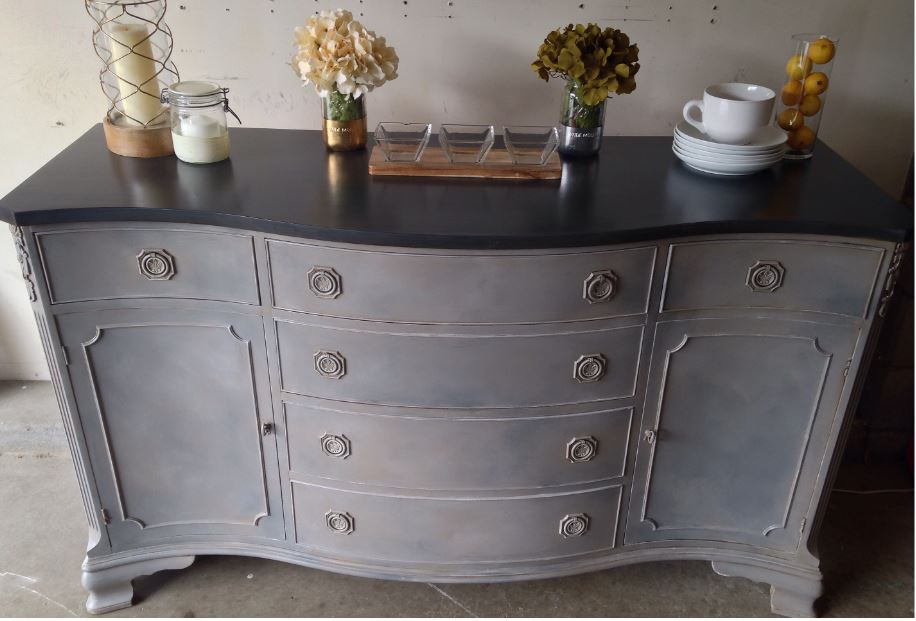
 The Purple Painted Lady loves to share pieces that have been completed by her customers. One customer in particular, is Nikki Counahan. She is also know as The Grateful Painter.
Nikki, “The Grateful Painter” has both a Facebook page HERE and an Instagram account HERE for you to check out.
I asked Nikki to share some information about this buffet that she recently completed because I think it is helpful to understand how others use products and to learn from one another. 
Here is the fantastic information Nikki shared with me:
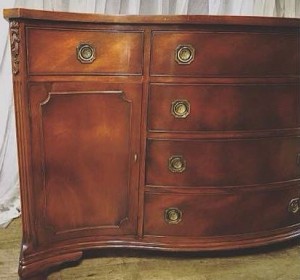
I bought this piece from an online auction. I spent more than I normally would on this buffet but I have always wanted to paint something like this so it was worth it!
I am always so excited to start painting a piece as soon as I get it home but this one needed just a bit of prep work before I could dive in. Luckily it was in near perfect condition when I picked it up.
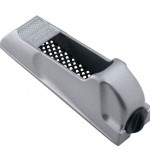 One of the cabinet doors was a bit tough to close– the top of the door just seemed to not fit into its space. I tried to adjust the screws in the hinges but it wasn’t budging. I have this handy dandy tool called a “surform plane” that I use in these situations. It basically shaves down the wood making it easier for doors and drawers to fit. Make sure to smooth the surface out with sand paper after using the surform plane otherwise it will be left a bit uneven.
This piece was a very bright mahogany wood and I knew it was going to have MAJOR bleed through. Zinsser Bulls Eye Shellac is the quickest and easiest way to make sure you have NO bleed through.
Read this post HERE on The Purple Painted Lady website’s to learn more about using Shellac.
I ran sand paper over the entire piece just to rough up the surface, wiped it down with water and bit of mineral spirits, then let it dry before starting. I did two thin coats (of shellac) just to make sure the piece was completely covered. I lightly sanded with 120 grit sand paper before I applied the second coat. Let each coat dry for about an hour and make sure to dust off the piece after sanding! This is definitely an “extra” step but it is VERY important!! (per The Purple Painted Lady ~ sanding between coats of shellac will help prevent paint from crackling)
PAINT:
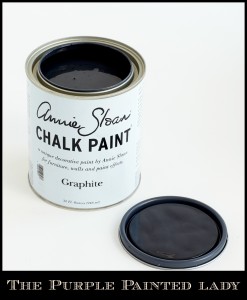
Once the shellac was dry I started by painting the body in two quick coats of Annie Sloan Coco and the top in two coats of Graphite.
I ordered Annie Sloan Paris Grey from The Purple Painted Lady and I knew the color would compliment Coco perfectly!
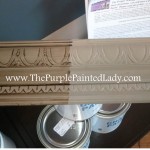
If you’re like me as soon as you get a new piece of furniture you want to paint it IMMEDIATELY and the best part about ordering from The Purple Painted Lady is her fast shipping. The paint was at my front door as soon as I was ready to paint!!
VERY HELPFUL HINT FROM THE GRATEFUL PAINTER ON HER PAINTING TECHNIQUE:
I poured a bit of Coco, Paris Grey and a mix of Graphite + Paris Grey on separate plates.
I lightly dipped each side of my brush in each color and then started painting. The technique I used was so simple!!!
I messily painted the colors on in every direction, blending them just enough that they didn’t look obvious. One coat of this technique did the trick.
DRY BRUSH:
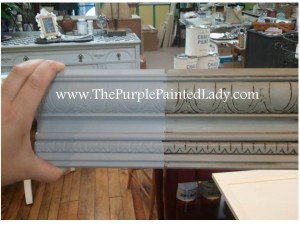
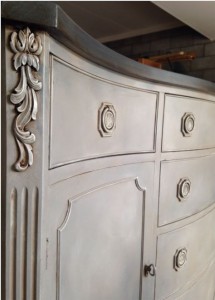
I wanted to highlight all of the pretty details on this piece so I dry brushed just a bit of Annie Sloan Old White. Barely dip the edge of the brush just on the surface on the paint and then wipe off the excess with a paper towel. You hardy want ANY paint at all on the brush! I lightly feathered the brush over the details until I was happy with the look.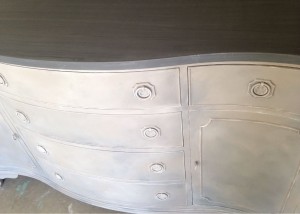
APPLYING A WASH:
I decided that I wanted to add some dimension to the top of the piece as well so I mixed a wash with 50% Paris Grey and 50% water. I painted the wash over the top and let it sit for a minute or two before wiping it back. It was subtle but enough to add a bit of character.
READ MORE ABOUT CREATING & APPLYING A WASH HERE
TOP COAT USED ON THIS PROJECT:
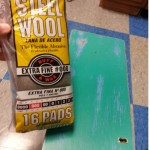
Next, I applied General Finishes High Performance Top Coat over the entire piece. 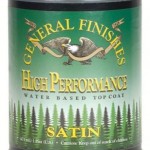 I used a foam brush on the bottom half of the buffet to make sure I could get into the small grooves of the details. Its easy to see brush strokes in a sealant with any kind of sheen so I used a small foam roller for the top. I was able to achieve a smooth and seamless finish with this type of application. I applied two coats, sanding in between with steel wool.
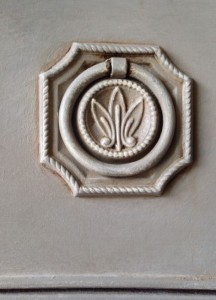
Once the top coat was dry I used General Finishes Glaze Effects in Van Dyke Brown.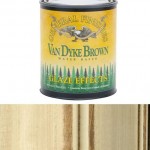 I chose brown glaze over black because I wanted to compliment/bring out more of the Coco rather than both of the grays. I applied the glaze with a foam brush just along the edges and in the details of the drawer pulls and appliqués.
Only glaze small sections at a time as it can get VERY messy! I painted it on and quickly wiped it off using an old t-shirt. This leaves the glaze only in the grooves and gives an aged look!
HELPFUL GLAZE SUGGESTION:
When using any type of glaze or wax to make a piece look antique I always use a bit over the entire piece, including the top.
I painted on a thick coat of the glaze and let it sit for about 30 seconds before wiping it back. It left behind a very subtle look (hardly noticeable at all) but made the piece look more uniform. I let the glaze dry for about two hours before applying one final coat of General Finishes High Performance Top Coat in Satin.
Nikki did a beautiful job on this buffet! And you can too.
If you are interested in staying touch with The Purple Painted Lady- visit our Facebook page HERE – we would LOVE to hear from you and see your before & after photos!
BUY PRODUCT FROM THE PURPLE PAINTED LADY™:
XO
The Purple Painted Lady™ ~ the serial no. is 86/641,416 with the US Trademark Office
VISIT our locations too!
our MAIN STORE at 77 West Main Street in Macedon, NY 14502
OR
3200 West Ridge Road in Rochester, NY 14626 (The Shops On West Ridge)

