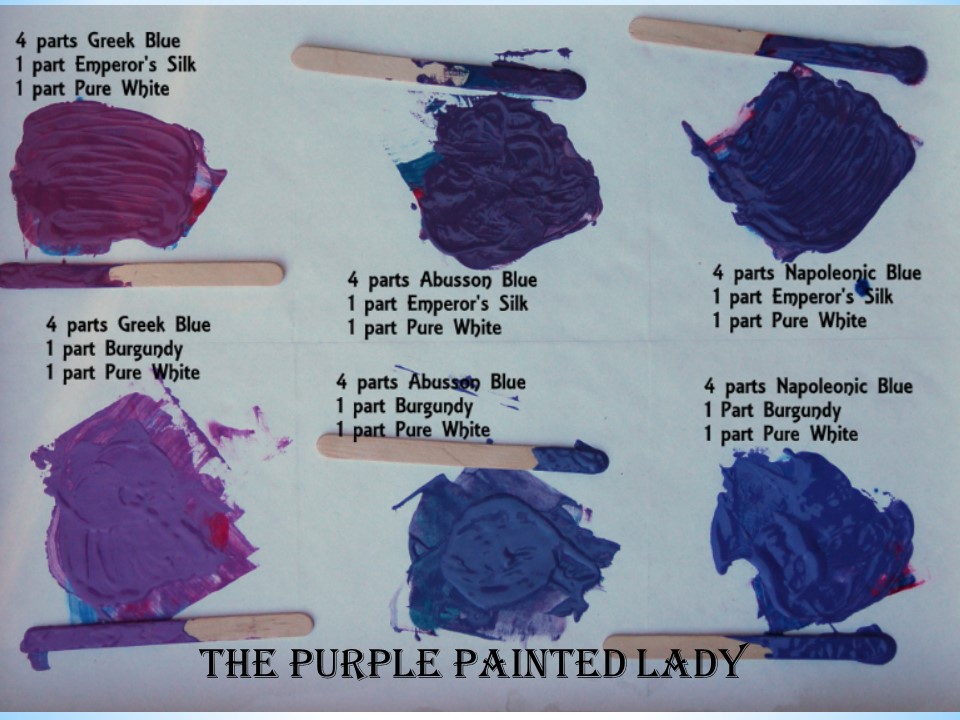
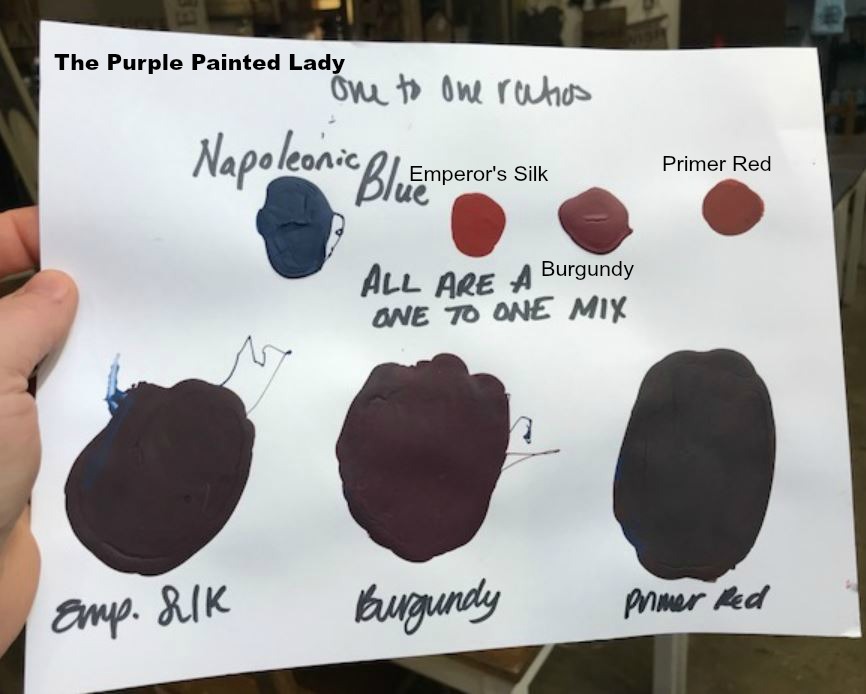
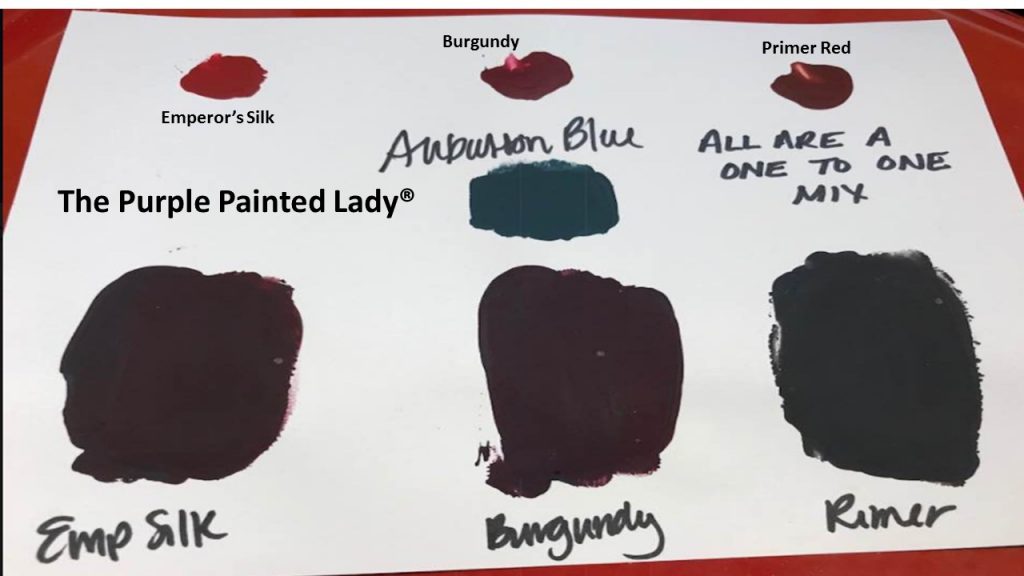
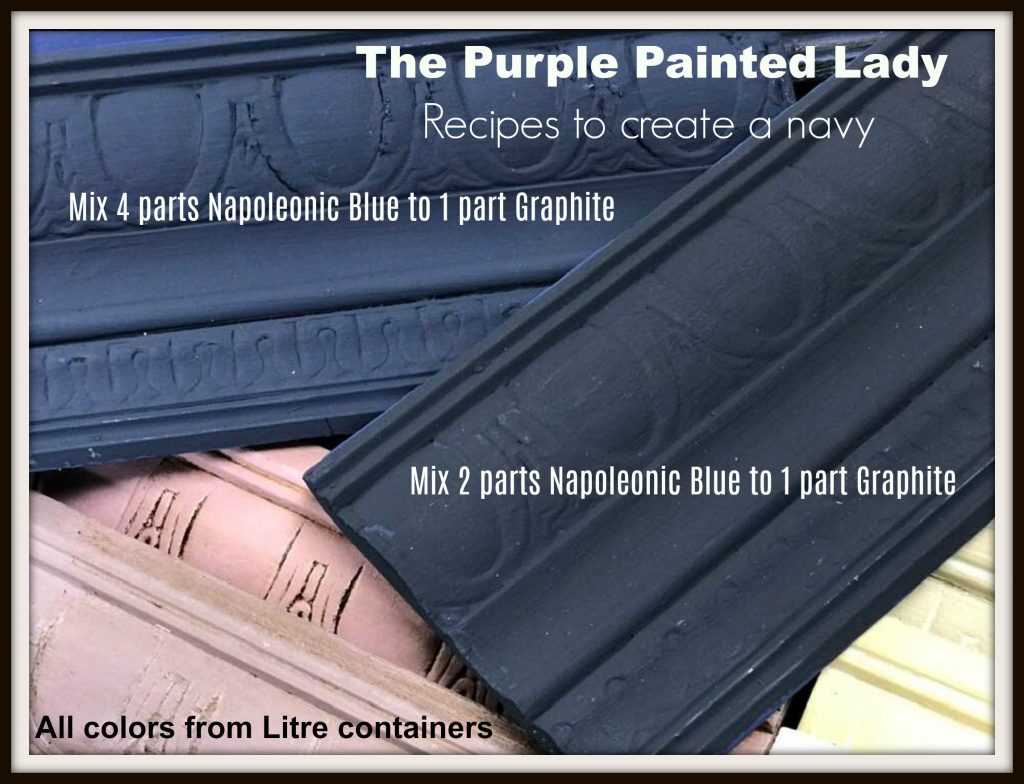
I used Chalk Paint® by Annie Sloan to stencil over my latex painted walls. Chalk Paint® will basically adhere and grip to any surface and I did not need to seal it. And since I wanted it to be a dark navy with a slight grey…. I went for it! And I am glad that I finally decided to invest the energy to make my mudroom that is the first room into our house off the garage – into my laundry room. In all truths, my mudroom was more of a dumping ground for my “stuff.” Sadly, I will admit I found things in there that had sat there a few years and I was just too busy or – honestly- too lazy to either put them away where they should go …maybe because I did not have a space for whatever it was or – I should have just thrown it away because I do have the tendencies of being a bit of a hoarder. (there- I said it.) My name is Trish and I am a hoarder. Not a terrible one- but I sometimes need help in letting things go. But this mudroom is a cool space. Our home was built at the end of the 1880’s – so there are some cool things about it. For example- I really like the height of the ceiling in this space.

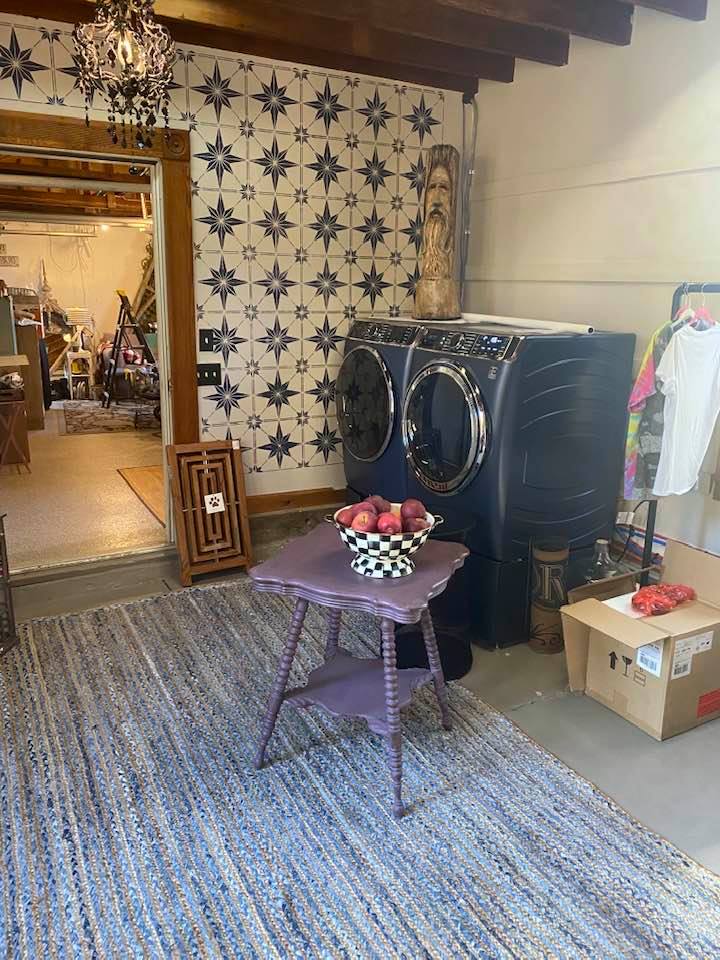
Well, let’s cut to the chase. Below is a photo of the space minus all my junk and after I painted the walls and concrete floor. (you didn’t really think I was going to show you the space when it was full of my clutter did you?) Actually, I could not find a “before” photo so this will have to do. And- then a photo of how the wall looked with the stencil finished and the appliances just placed in front. The room is still not 100% completed, but it gives you an idea of the difference. The stencil took me two evenings to complete. The wall size is about 15 foot wide and 10 feet tall, minus the opening of the door to the garage.
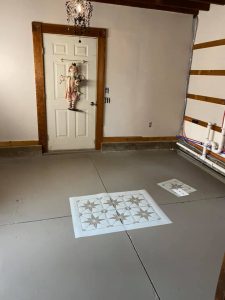
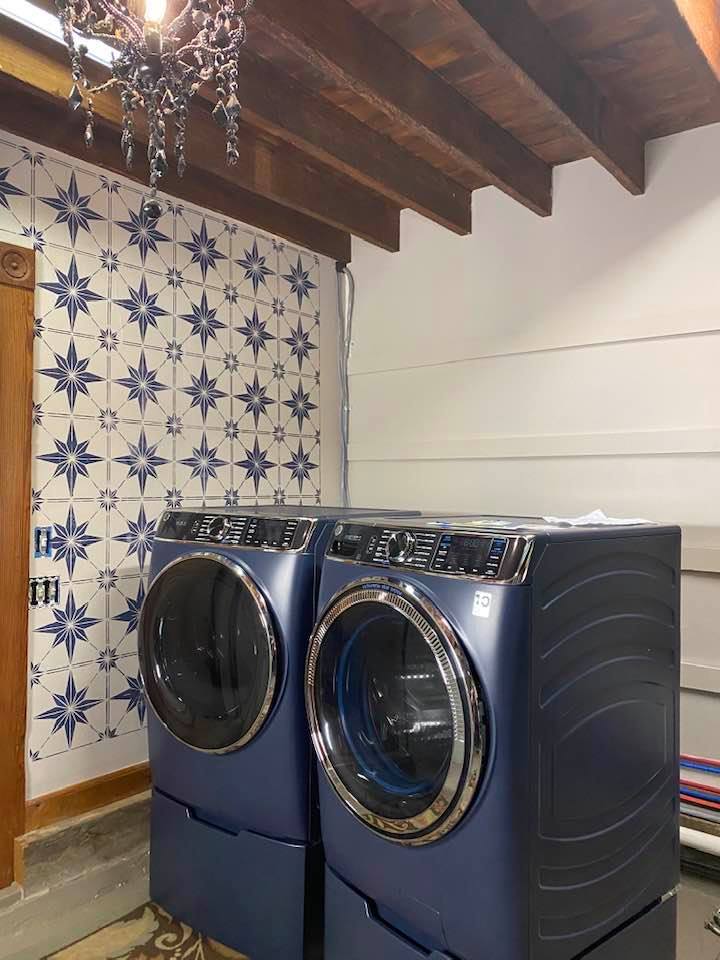
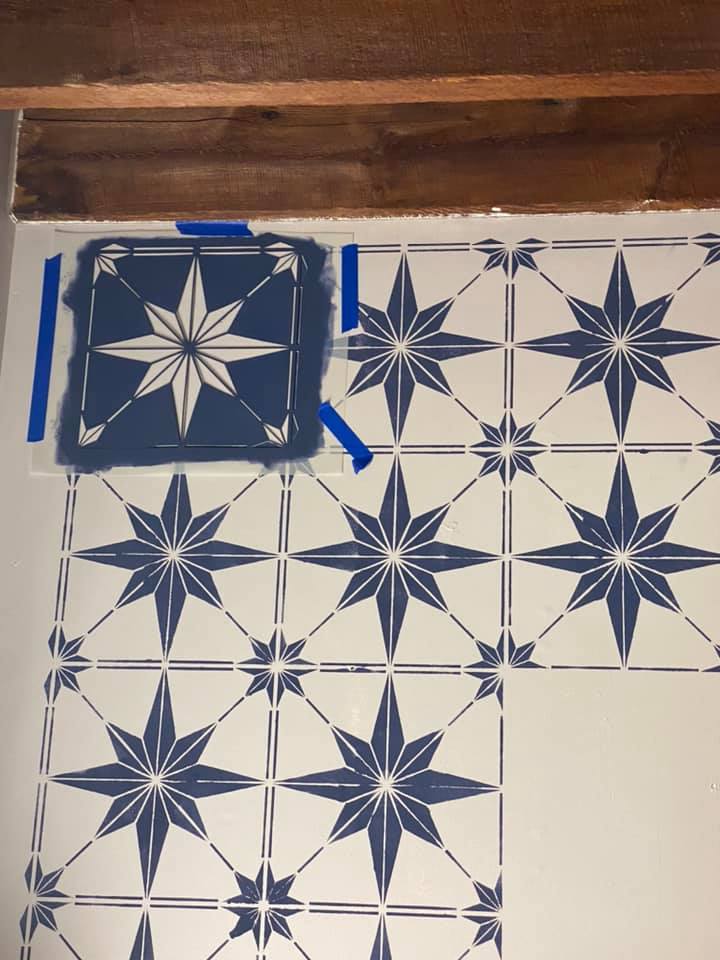
I love this stencil. I found it on etsy by a seller named Dizzy Duck Designs UK. You can find some similar here in the US, but I did like this one specifically. The stencil took a few extra days to arrive but it was not a super long time at all. I purchased the largest sheet and it also was shipped with a single square to get into those smaller spaces.
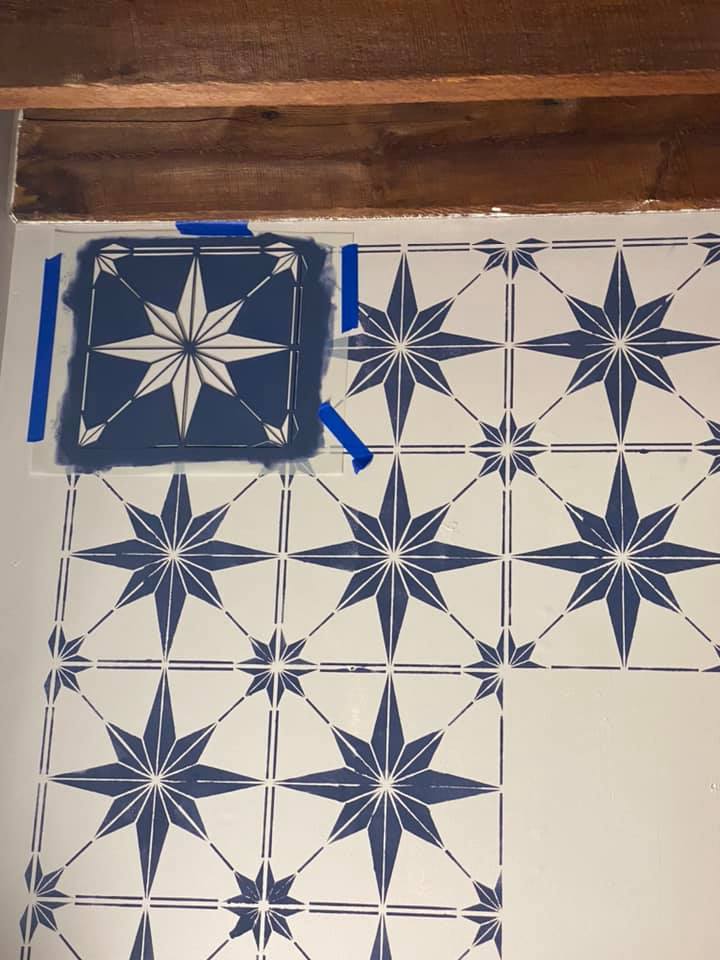
If you have never stenciled before- it is not hard. Something to keep in mind first- is the end layout. I just got lucky and chose to center the first square I did above the door that led out to the garage. In the end- this made the most sense- but truly – I just got lucky in that choice. So put some thought about where the stencil will end on the side walls or around doorways or placement from the ceiling to the floor. That way- you have full designs versus a partial. (unless you could care less about that.) I have a blog post about stenciling HERE you could read afterwards from more tips. Keep in mind I used Annie Sloan’s foam 4″ roller to apply my paint versus a stencil brush.
Here I am below after just starting the stencil process. That expression on my face, will it is because I was wondering if I should have hired someone to do this for me. LOL (joking, not joking!) In the end- I am glad I did it because I really like the result.
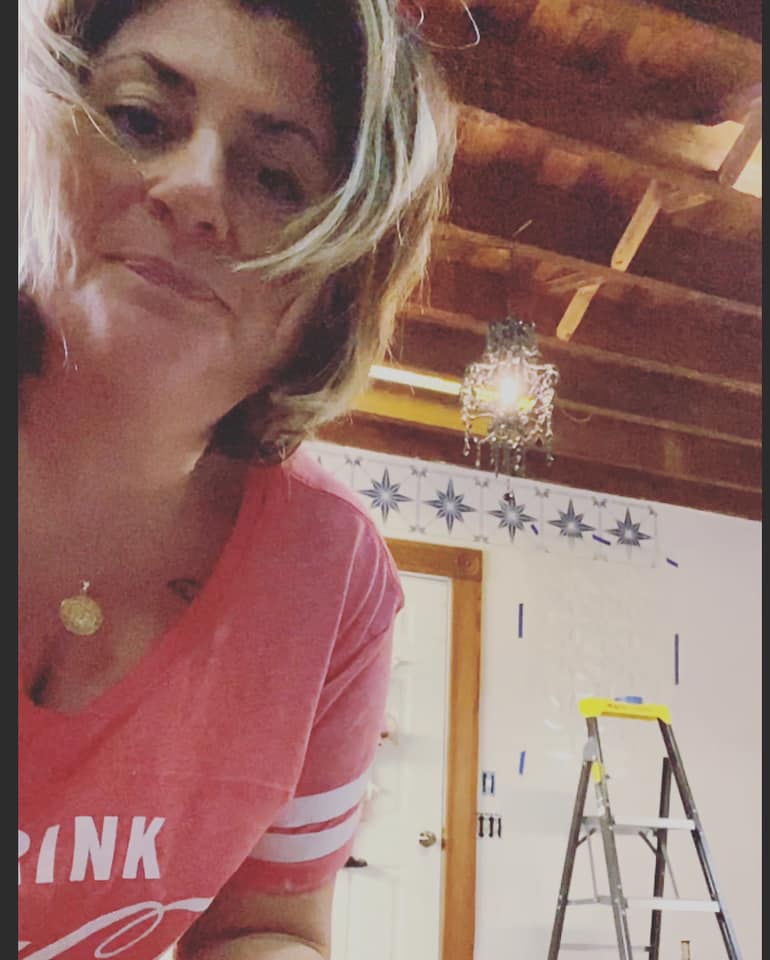
This is after I had most of the wall done using that single square Dizzy Duck Designs UK includes.
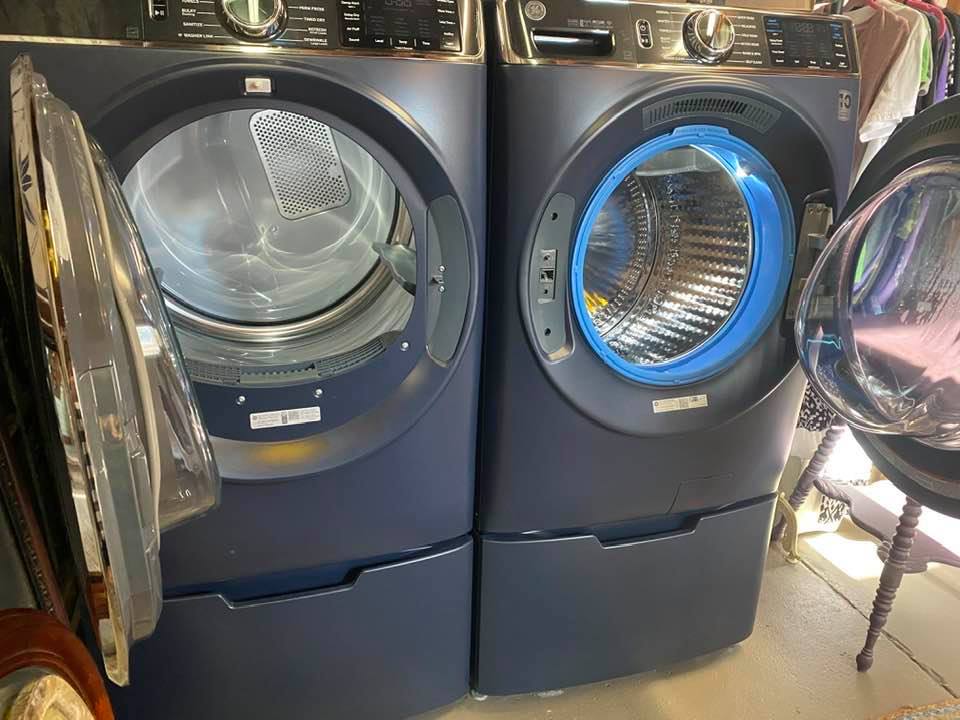
This transformation all started because we were upgrading from our older top loading washing machine to one of those super duper front loaders that has a gazillion bells and whistles (that I probably will never learn how to use.) But the location of where we had the washer and dryer before was too small for these new ones. Aren’t these pretty? I purchased them from a local store called Charlotte Appliances from a friend named Rich Ayers who works there and that I went to high school with. We also got the bases for them too- which I strongly recommend since it raises the height of the doors up and makes it much easier to put clothes or take out. I would recommend that you consider the placement of the hinges on the doors when you purchase them. I knew I wanted the doors to open so I could stand in the middle and move clothes from the washer to the dryer.
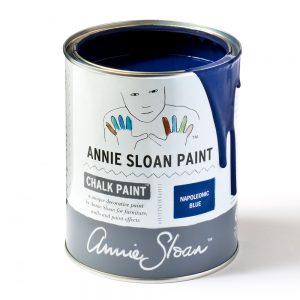
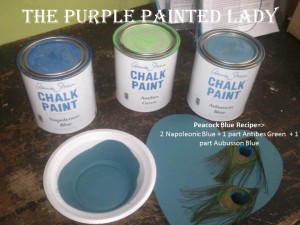
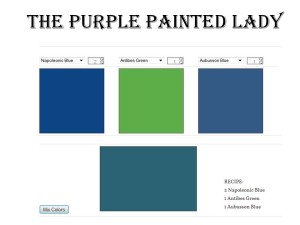
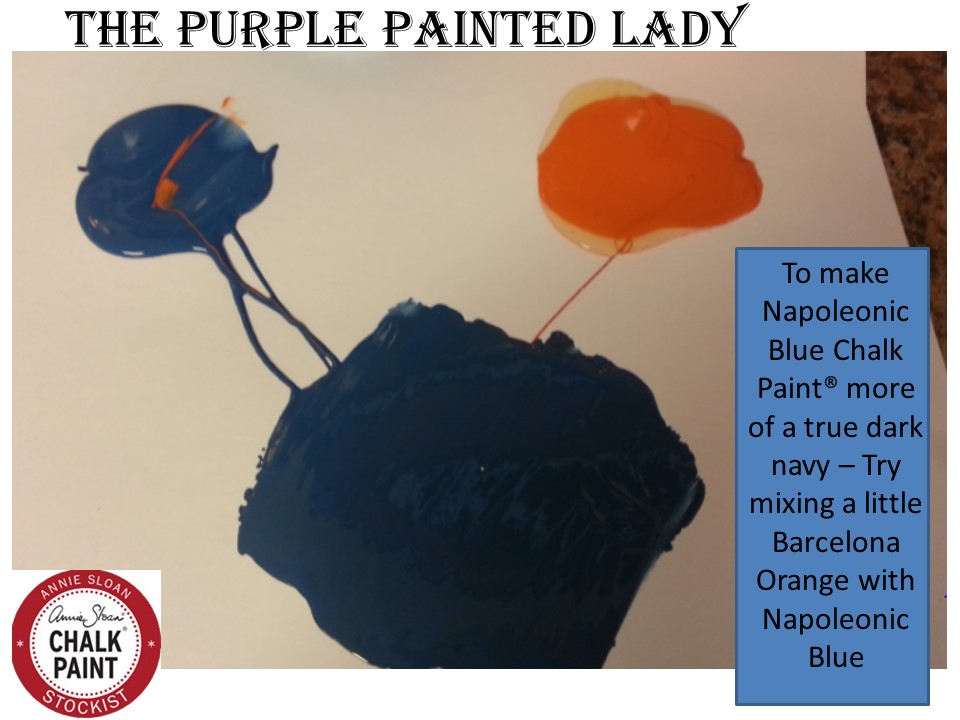
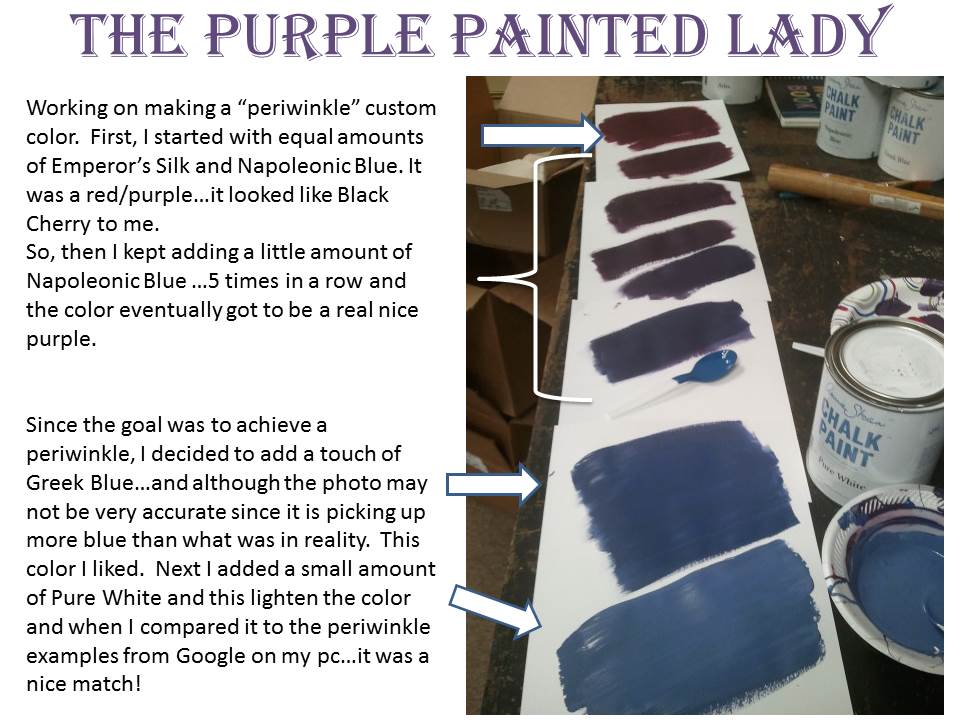
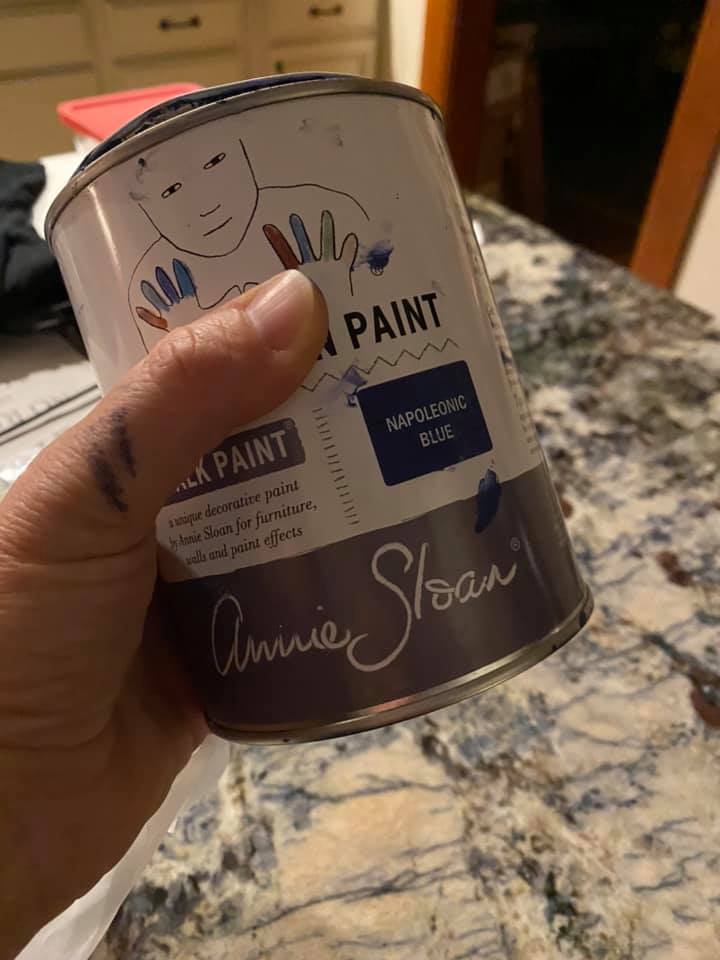
I painted the walls and floor with paint I purchased from Sherwin Williams. I used Napoleonic Blue Chalk Paint® by Annie Sloan mixed with a little India Ink for the stencil.
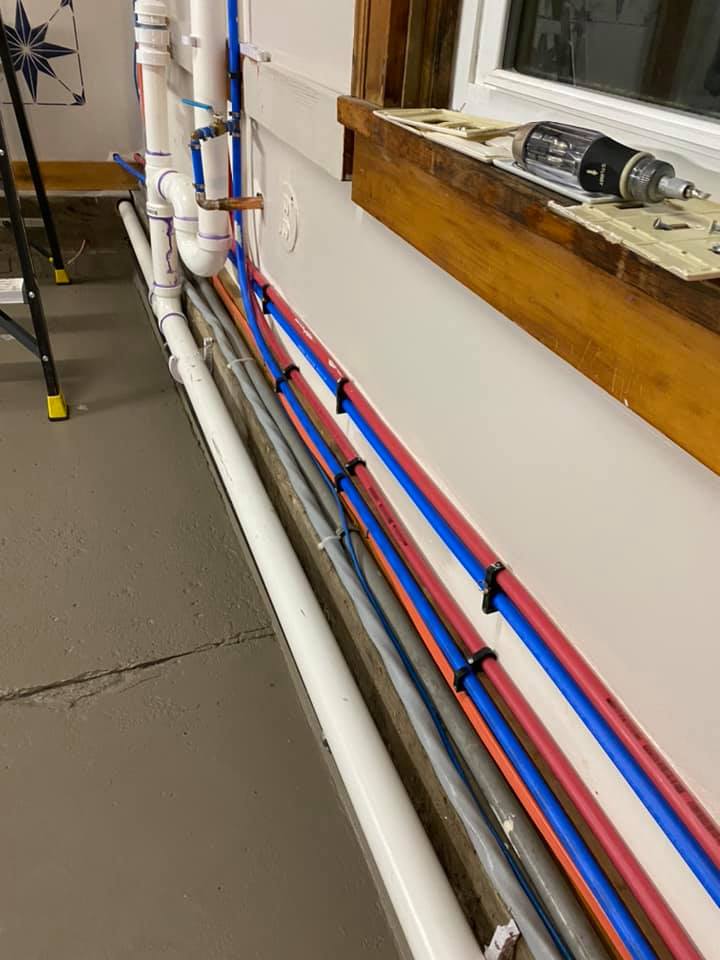
Since we needed water and sewer lines run from the basement along the wall I plan on having a wood cap made to hide them and also, a top and side panel for to go over teh washer and dryer too.
Here is an image of the space a little more finished. I promise to upload another photo once it is all done though.
What do you think? I like it!
Well, if you are interested in purchasing Chalk Paint® by Annie Sloan or would like some help with a project- reach out to us! And….consider purchasing from us too, although we always encourage you to visit your local Chalk Paint® stockist if you have one …but if you are stuck at home and do not have anyone local… The Purple Painted Lady is here to help and can ship your order right to your front door step. Please just place your order online and we will ship it out ASAP! In fact, if you place an order- be confident in knowing that The Purple Painted Lady has everything in stock! What does this mean in the end? With the team we have in place- your order will get packed and picked up by USPS. FedX or UPS the same day you place it – Monday through Saturday. (note however, this is as long as your order came in before 3pm EASTERN TIME, because UPS picks up our packages around 3:30pm)
To purchase online – please CLICK HERE!
MONTHLY NEWSLETTER: Okay- well maybe we actually send this about sometimes likes every 2 months ~ but still! Do you receive our monthly newsletter? If no, you should consider joining. Click HERE to get on board with The Purple Painted Lady’s Monthly Newsletter and get in on the fun.
