Painting 101:
Friends don’t let friends paint in situations where peeling will occur!
If there is one thing you can take away from this post- it is to please read the instructions that The Purple Painted Lady provides with your product purchases. They are really important and will help you be successful the first time you use your products.
So, for example I thought I would share a couple calls I received this weekend from customers calling with problems.
-
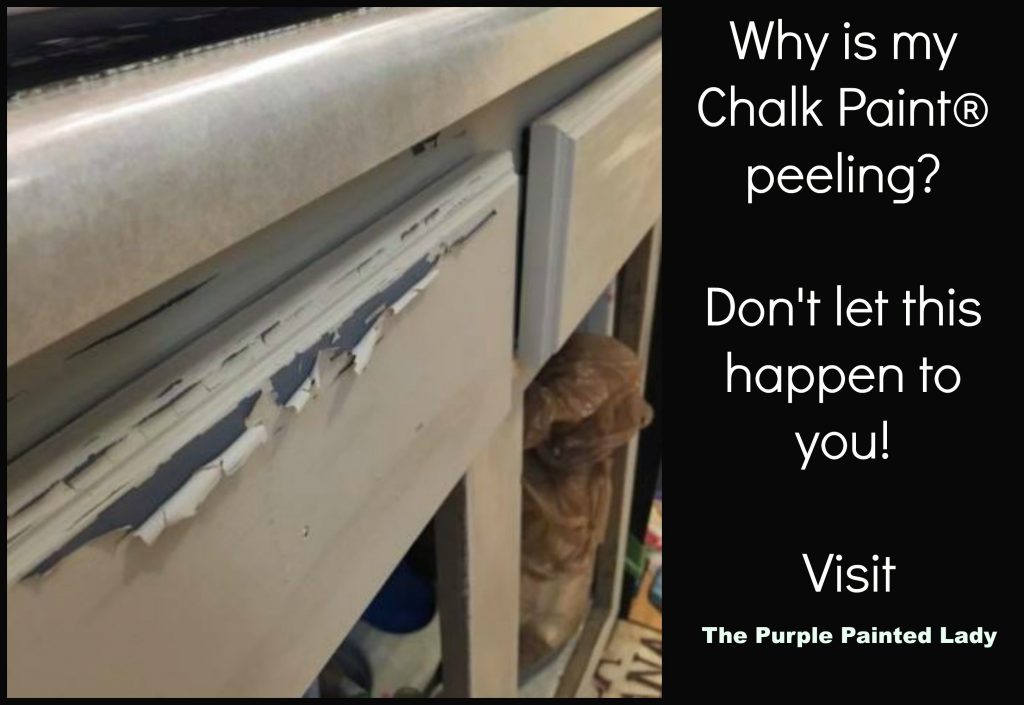
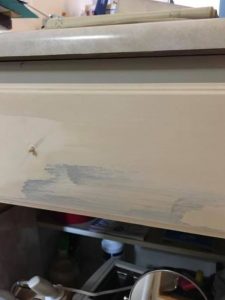
Customer calls that Chalk Paint® is peeling off of cabinets in specific areas.
TRISH: (ring,ring) Hello, this is Trish, The Purple Painted lady. How can I help you?
CALLER: I am working on painting a friend’s kitchen. I painted my boyfriend’s kitchen already and it turned out awesome, but on this project, I have one coat of paint and it is peeling. Why is this happening?
TRISH: Okay, Are you using Chalk Paint®?
CALLER: Yes
TRISH: Peeling can happen based on a few things:
- You did not clean the surface well and there is something on it repelling the paint or preventing the paint from adhering correctly
- Temperature. If you are painting in an area where it may be too cold, like under a constant 60 degrees.
- What type of surface are you painting? You do not want to paint over Thermafoil.
Is the peeling happening all over or just in some spots…like near the sink, dishwasher, over the stove, an area near a pet’s food dish or near a garbage can?
CUSTOMER: Yes, it is peeling only in a few spots. Like right below the sink, a corner near a handle and above the stove.
** since the peeling is only happening in a few spots – this leads me to believe that the problem is isolated to areas that were not properly cleaned. They can be dirtier than other areas and may have needed some extra TLC or someone missed cleaning them as well as they should have been.
TRISH: Did you clean your cabinets per our instructions? The prep prior to painting with Chalk Paint® is one of the most critical parts. If there’s any residual dirt, oil etc. left on the cabinets prior to painting,…….the paint will not adhere properly. (I know this customer has already successfully completed a different kitchen and has experience with painting. But…something is different)
HOW TO REMEDY PEELING PAINT:
Per our instructions, I recommend to clean cabinets, to follow our 2 step process.
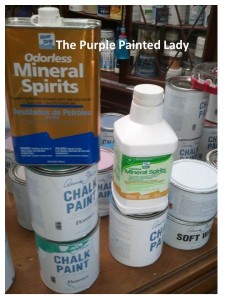
- Wipe down the cabinets with a rag moistened with odorless mineral spirits (NOT the milky white environmentally green kind.) We like to use the Kleen Strip brand due to the fact that just because a product is labeled “odorless” – does NOT mean that is totally true. Some “odorless” mineral spirits still have a very strong smell. We like this brand better than others.) Once all of the cabinet doors and casement have been wiped down with the a rag moistened with odorless mineral spirits, then go back and follow up using a new rag moistened with fresh water to wipe them
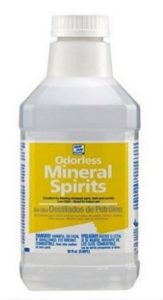 again….rewetting and rinsing the rag periodically. When using the odorless mineral spirits or the rag with freshwater, neither should be dripping wet!
Sometimes, depending on the amount of crud that may be on a door or area, you may need to use a Scotch-Brite scrubby. This could be because of where your pet’s food dish is located, or a garbage can is near a cabinet and people miss when throwing things away or by the kitchen sink….. So, in order to clean off any extra “stuff“ for lack of better words …. meaning “filth, grime or crud” use a Scotch-Brite scrubby.
CALLER: I left the cleaning to my friend.
TRISH: They either did not clean well enough or they did not wipe with fresh water thoroughly enough afterwards. It could be both?
CALLER: What do I do now?
TRISH: I recommend that you lightly sand the peeling paint away and any other loose paint. Sand enough to feather out the edge to make the surface smooth, versus leaving a crater from the missing paint. Sand enough of that area to lightly remove any potential left behind residue.
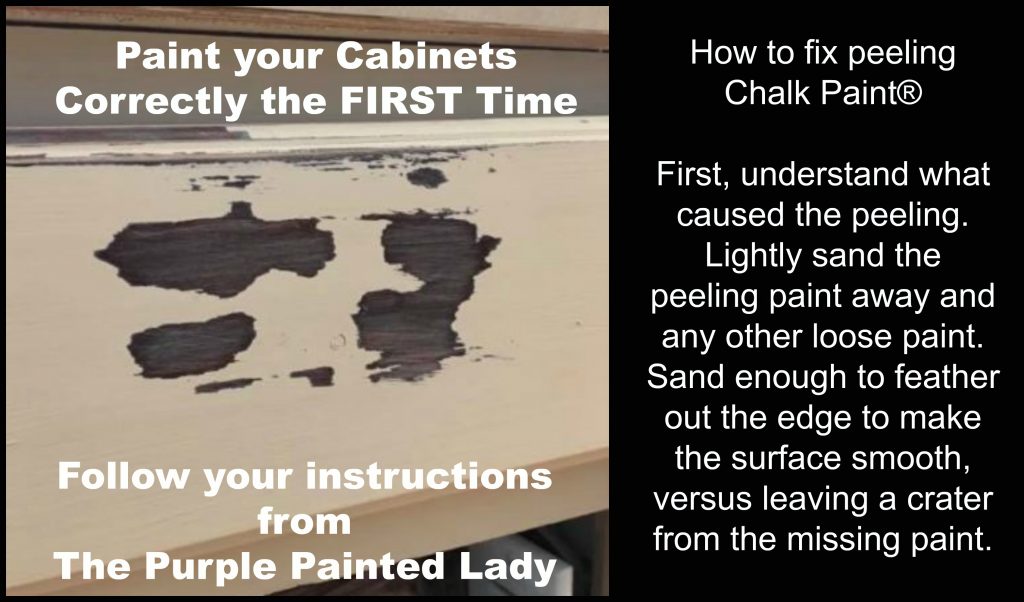
Then wipe away any dust.
Lightly paint over that area and let it dry. This should a thin coat, but with total coverage. It should not re-peel….but if it did and you followed our instructions…text Trish! Her number is on your instruction sheets.
Once that has dried, wait a few hours and paint again. The moral of this story- take extra time to clean your cabinets before painting…and do it yourself if you want it done right. : )
2. TEMPERATURE is a factor with paint products…….in fact, ….temperature is a big deal!
Never store or use your paint products or top coats in the cold! Never store them where it will be less than 55 degrees too!
It’s important that when painting anything ……that the paint is at room temperature ….and the piece being painted, such as a cabinet door or a dresser is at room temperature too. Meaning, you cannot go out to the cold garage turn on a heater for the limited time you are in there and then turn it off, when you leave…..but leave your paint and painted piece to suffer in the cold….your project will fail! This also means, if you are bringing in a piece from the cold garage and immediately start painting it just because you are in your warm home. The material, be it wood or otherwise of the dresser or cabinet needs to be at room temperature also. This may mean, you may need to wait a few hours before starting to paint. Once done painting, while the paint dries the piece has to stay at room temperature through the entire curing process.
I had a customer over the weekend who sent me photos because she was painting a dresser and to her surprise, it started to peel on the side of it. After asking a few key questions, like how did you clean it, what the temperature was where she painted….. She immediately said she painted it in her garage. It was only 30° F outside. She thought it was warm enough in her garage to use the paint and to store the piece while it was drying. NOPE…..it is not, I replied. Now the paint in some areas is peeling off and will not adhere properly in cold temperatures. To remedy this, bring the dresser INSIDE…let it get to room temperature on its own. Then, follow the process noted about where it states “HOW TO REMEDY PEELING PAINT”

And just for good measure- I thought I would share a little more about painting cabinets. Paint is basically, all chemistry. It’s a liquid that when dries….. people expect it to be as strong as a military tank. That just doesn’t happen by magic. When people are painting their kitchen cabinets (or floors or laminate/Formica surfaces…or really smooth surfaces ) ……..if possible always apply the first coat of paint in a uniform, thin application, but where you still get complete coverage. Then…….(if possible) wait til the following day to paint a second coat. Yes, I know we share that you can paint or wax a total of three applications in one day …..but by waiting for that first coat to set, like overnight …..the better it will be on the cabinets. I also tell customers to not try to scratch the paint with their thumbnail and see if they can scratch some off……because guess what….. you will be successful. This would happen no matter what paint line you’re using. If fact, many paints have a 30 to 45 day cure time. Chalk Paint® is very unique in that, as long as you are gentle initially- you can begin using your painted and waxed piece immediately. This combination is extremely durable but again, you have to allow some time for the chemistry to do it’s thing.
BUY PRODUCT FROM …..THE PURPLE PAINTED LADY®:
First- if you have a local stockist- go visit them and build a relationship with them. Go to them with your questions and project issues. BUT- if you do not have a local stockist- we invite you to try our customer service!
XO
The Purple Painted Lady® ~ the serial no. is 86/641,416 with the US Trademark Office


